The Ideal Drone Shot: Camera Settings That Make Every Photo Count
The four pillars of sharp drone photography: ISO 100, shutter speed 1/250s, aperture f/4, and manual white balance at 5500K. Master these and your aerial photos transform.
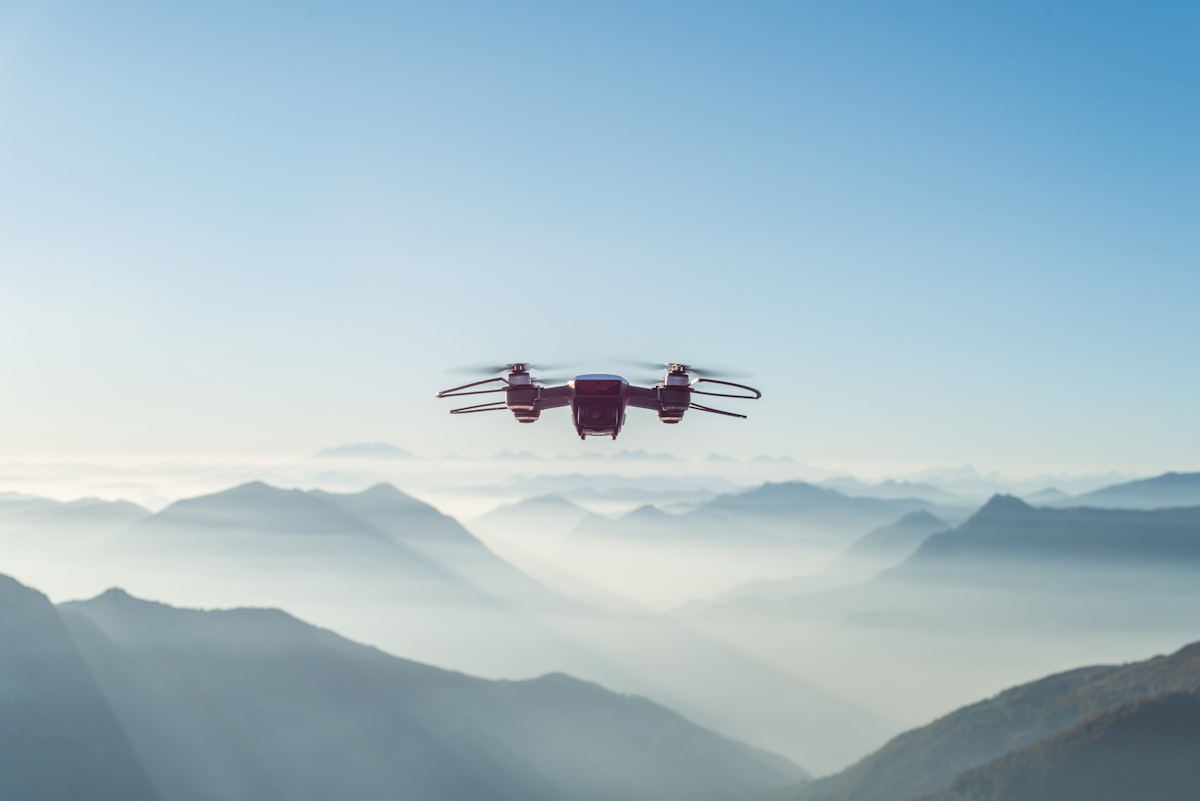
The Four Pillars of Sharp Drone Photography
The four basic settings for sharp drone photos are: ISO 100, shutter speed 1/250 of a second, aperture f/4 (if your drone offers this), and manual white balance set to 5500 Kelvin. Switch off automatic mode as soon as you want to take photography seriously — auto mode often selects the wrong settings at sunset, in bright sunlight, or in cloudy weather.
Golden rule: Eighty percent of the difference between a good shot and a great shot comes down to lighting and composition. The remaining twenty percent is post-processing. Get the in-camera settings right first.
ISO: The Basic Sensitivity
ISO determines how sensitive the sensor is to light. A low ISO results in less noise and therefore a sharper image. A high ISO allows you to take photos in the dark, but introduces grain.
- ISO 100 — standard daytime photography, maximum sharpness
- ISO 200–400 — sunrise, sunset, or indoor environments
- Above ISO 400 — noise becomes visible on smaller drones (Mini, Avata)
Rule of thumb: Always use the lowest possible ISO that your shutter speed allows. Noise is easier to remove than motion blur, but sharp, noise-free images start at ISO 100.
Shutter Speed: Freeze or Blur
Shutter speed determines how long the sensor captures light. Too slow means motion blur from your hovering drone. Too fast means underexposure.
- 1/250s — standard photography, the sweet spot for most daylight scenes
- 1/500s or faster — windy conditions (above 4 m/s wind) to prevent motion blur
- 1/30s or slower — with an ND filter for soft water effects and light trails
When your drone hovers, the sensor is still capturing light during the exposure. If your shutter speed is too slow, the drone's tiny movements create blur. At sunset and in windy conditions, always increase shutter speed to compensate.
Aperture: Variable on Top-of-the-Range Models
The aperture controls how much light passes through the lens. This is only adjustable on the DJI Mavic 4 Pro and DJI Inspire 3. On smaller drones (Mini 5 Pro, Air 3S, Avata 2), the lens has a fixed aperture.
- f/4 — maximum sharpness, ideal for daytime aerials
- f/2.8 — low light situations, wider light gathering
- Avoid f/8+ — diffraction softens the image beyond this point
White Balance: Colour Temperature
White balance determines whether 'white' in your photo actually looks white. Measured in Kelvin (K): lower values are warmer, higher values are cooler.
- 5500K — standard daylight, the default for most drone photography
- 6500K — cooler, bluer tones (useful for blue hour)
- 4500K — warmer golden tones (sunset scenes)
Critical: At sunset, do NOT use auto white balance — it 'corrects' the warm orange tones away, destroying the magic of golden hour. Set it manually to 5500–6500K to preserve the warm glow.
Standard Daylight Drone Camera Settings
Copy and paste these settings for most daylight situations. This is a good starting point from which to experiment further:
| Setting | Value | Purpose |
|---|---|---|
| Mode | Manual (M) | Locks exposure for consistent shots |
| ISO | 100 | Maximum sharpness, minimal noise |
| Shutter speed | 1/250s | Freezes motion, prevents blur |
| Aperture | f/4 (if variable) | Maximum depth of field |
| White balance | 5500K (daylight) | Accurate color reproduction |
| File format | DNG (RAW) + JPG | RAW for editing, JPG for preview |
The Elements That Make a Photo Stand Out
Subject
A photo evokes feelings and associations. What kind of feeling do you want to evoke? A beach shot evokes leisure, good food, and enjoyment. A mountainside image evokes adventure, solitude, and nature. Choose your subject deliberately.
Composition
A photo needs something to make it stand out. From the air, you can see patterns, textures, and the positioning of objects that might be worth photographing. Look for horizontal lines, symmetry, or simplicity that creates visual structure.
Light
A common mistake is always relying on the camera's default settings. Set your camera to manual mode, keep the ISO low during the day, experiment with aperture for blurred backgrounds, and vary shutter speed to capture movement.
Colours
Play with colours — they may already be present naturally at your location. The changing sun light creates subtle differences throughout the day. Consider black and white for dramatic, structural images. Edit afterwards using Lightroom or your preferred editor.
Originality
See if you can photograph a familiar spot from a different angle. The drone's unique perspective makes even ordinary locations extraordinary when you break from the expected viewpoint.
Advanced Techniques Beyond the Basics
For the real photography challenges — sunsets by the coast, top-down shots over water, the blue hour, slow shutter speeds with an ND filter, HDR stacking, colour grading, and reading histograms — general rules of thumb won't cut it. These advanced techniques require practice and deeper understanding:
- HDR Stacking: Bracket 3–5 exposures and merge for higher dynamic range
- ND Filters: Use neutral density filters to enable slower shutter speeds for soft water effects
- Colour Grading: Develop a consistent look across your drone portfolio using LUTs or manual adjustments
- Histogram Reading: Learn to read the histogram to ensure proper exposure distribution
- Focus Stacking: Combine multiple focal distances for maximum sharpness on varying distances
Frequently Asked Questions
What are the best camera settings for drone photography?
ISO 100 during the day (200–400 during golden hour), shutter speed 1/250s, aperture f/4 if adjustable, white balance set manually to 5500K. Always shoot in DNG/RAW.
What is the best ISO for a drone?
The lowest possible ISO that your shutter speed allows. Standard ISO 100 during the day. Above ISO 400, noise becomes visible on smaller drones like the Mini and Avata series.
What shutter speed for drone photos?
1/250 of a second for standard photography. Faster (1/500s) in windy conditions. Slower with an ND filter for soft water effects and light trails.
Should I shoot in RAW or JPG?
Always DNG/RAW. This gives you 70% more editable data and the ability to adjust white balance, shadows, and colours in post-processing without any loss of quality.
What's the best time for drone photography?
The golden hour: the first hour after sunrise and the last hour before sunset. Warm, low light with dramatic shadows creates the most compelling aerial images.
Ready to Shoot?
Photography is a skill that rewards practice. Start with the standard daylight settings, then experiment with each variable individually. Master ISO first, then shutter speed, then aperture. Add RAW editing to your workflow, then move to advanced techniques like HDR and ND filter photography. Before the most beautiful drone shot, there's dozens of practice shots — but each one teaches you something new about light, composition, and your drone's capabilities.
Explore Dronable Tools
Deepen Your Knowledge
Get step-by-step video courses in the Dronable Academy — FAA Part 107, EASA, real estate drone photography, and more.
Browse CoursesFree: How to Start a Drone Business
The complete step-by-step guide to turning your passion for flying into a profitable drone business — completely free.
- 10 steps to launching your drone business
- 51 proven drone business ideas
- How to get FAA certified (Part 107)
- Pricing, clients & recurring income
Join the Dronable Newsletter
Get drone tips, new articles, and exclusive deals straight to your inbox. No spam, unsubscribe anytime.


